Understanding Blocking, Why Blocking knitted Projects Actually Matters
Let’s talk about blocking knitted projects. I know, I know, it sounds like an extra faff at the end of a project when you’re just want to wear your new jumper or gift that gorgeous blanket. But trust me when I say that blocking is the step that transforms your knitting from homemade to handmade.
Blocking serves multiple purposes, primarily it’s about setting your stitches, enhancing the drape, and shaping your knitted piece exactly how you want it. When you block your finished work, you’re allowing those fibres to relax and settle into their intended form. Resulting in a polished, professional look that elevates even the simplest designs.
One of the things I love most about blocking is how it transforms the texture and appearance of your knitted fabric. You can smooth out uneven stitches (we all have them, don’t worry!), open up lace patterns so they really shine, and increase the overall drape of a garment. It’s a bit like magic, really.
Crochet Needs Blocking Too…
All of the information in this blog post is also relevant to your crochet projects too! Check out the free crochet flowers patterns, they all look at their best when they have been blocked. Blocking crochet really helps to open up those stitches and make everything look even and elevated.
It’s a Kind of Magic
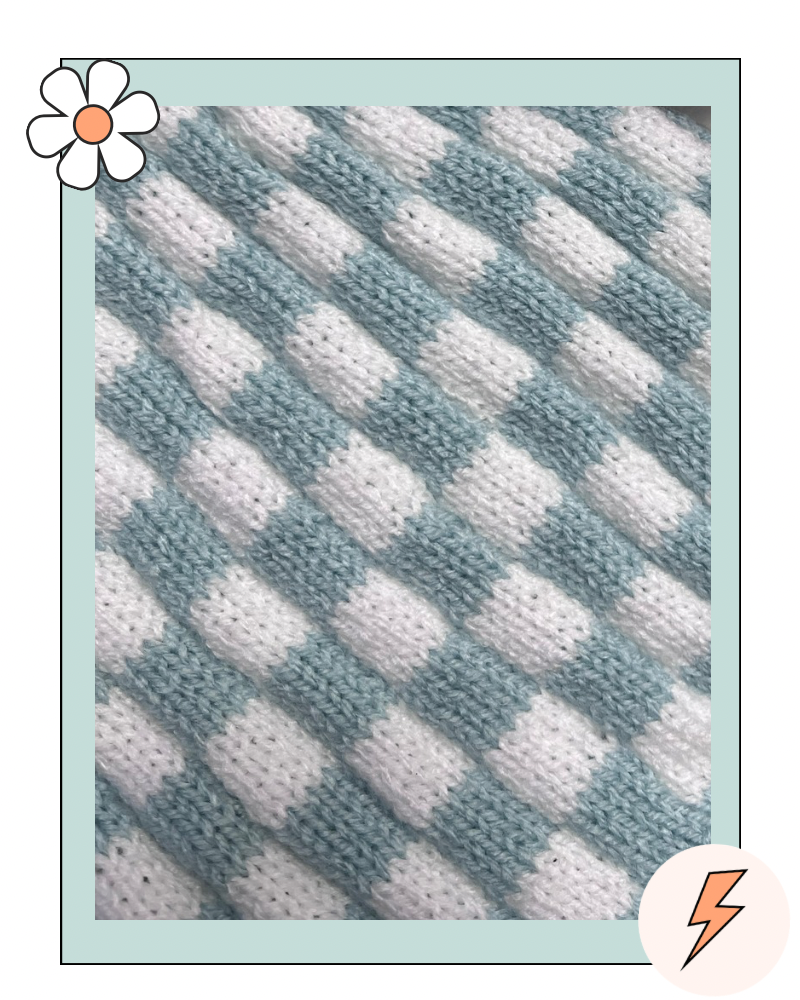
Recently I knitted a baby garment with a trendy checked pattern. Stranded colourwork, two colours nice and simple. I thought you might like to see the knitted piece before I blocked it with a little steam. You can clearly see the stripes are slightly puckered forming what looks to me like a freshly ploughed field.
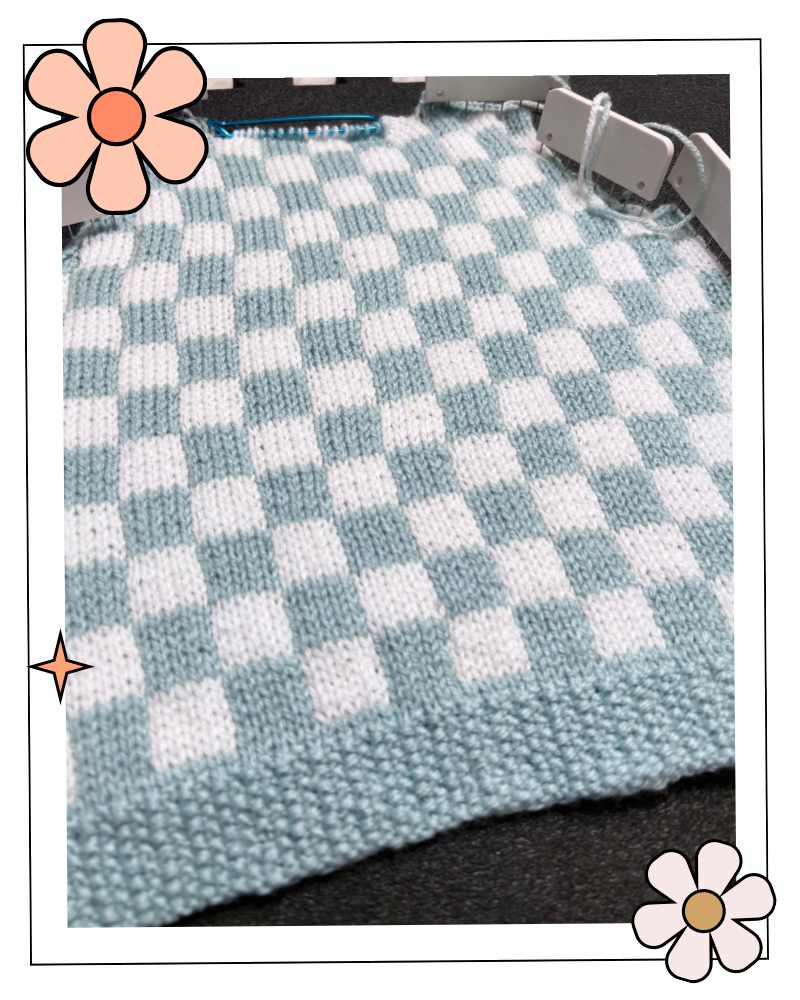
Firstly, I pinned the piece out using blocking combs, gently stretching out those ridges (check your finished piece measurements against the pattern to make sure you are not stretching your piece too much, you still want the project to fit!).

Then I used my hand steamer, WARNING, the piece was knitted using 100% acrylic yarn, I had already tested my swatch to see how it behaved with steam, please do the same. Keep the steamer at least 10-15 cm from the fabric and gently pat the fabric after each quick pass of the steam to ‘flatten’. NEVER steam ribbing, trust me.
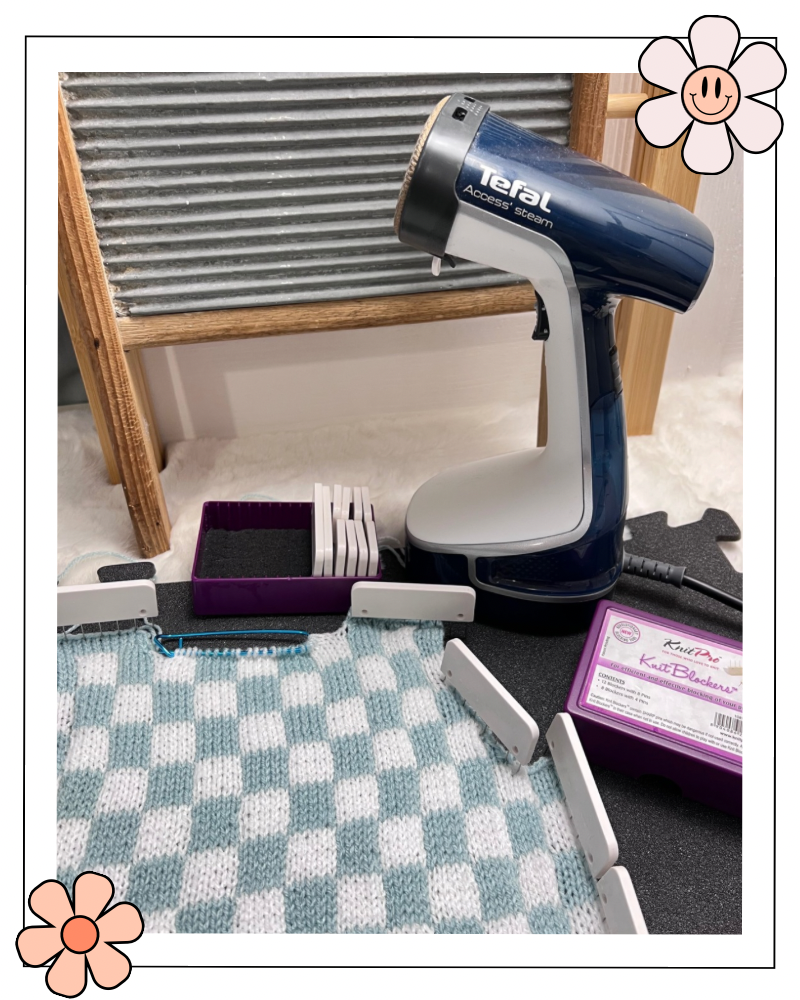
Leave the piece to dry completely before removing the pins.
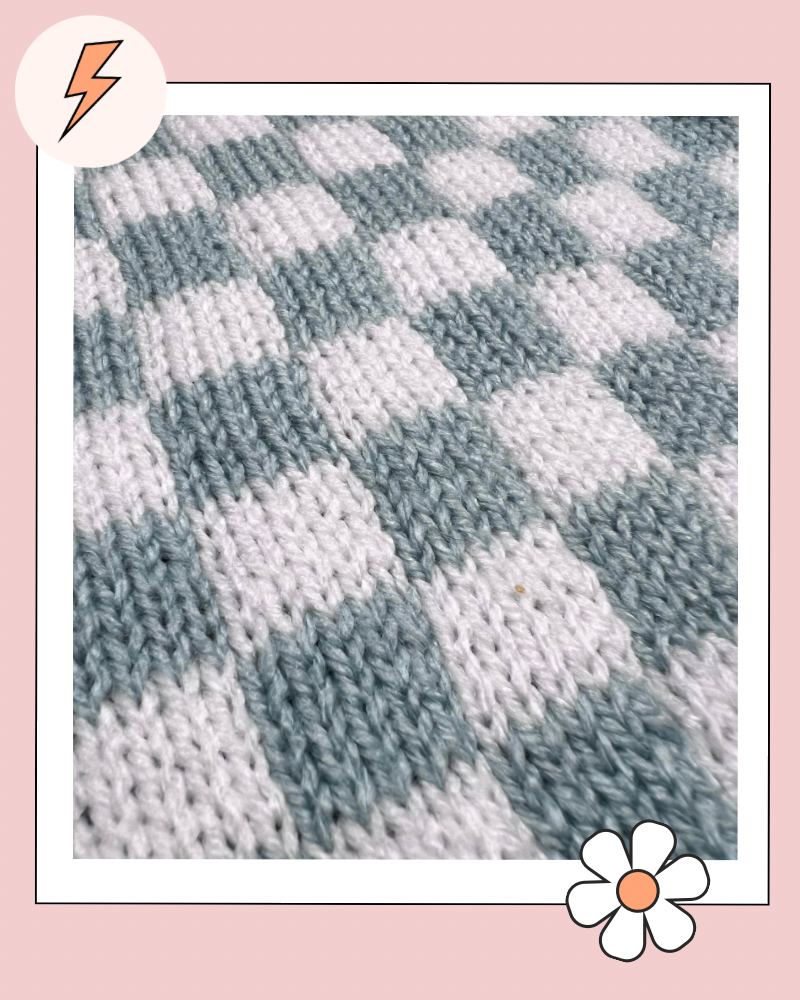
Magic…
Wet Blocking vs Steam Blocking Knitted Projects
There are two main methods, wet blocking and steam blocking. Wet blocking involves soaking your project in water, gently removing the excess, and then shaping it to your desired measurements. Steam blocking uses the heat and moisture from a steam iron to encourage the fibres to settle into place.
Each method has its advantages. Wet blocking is ideal for natural fibres like wool because it thoroughly relaxes the yarn. Steam blocking is often better for synthetic fibres that might not respond well to a full soak. But here’s a word of warning, take extra care when using steam on synthetics like acrylic. Too much heat will melt those fibres, and you’ll end up with a sad, crispy mess. Ask me how I know!
Essential Tools for Blocking
To block effectively, you’ll need a few key tools, and honestly, they’re worth every penny. Once you’ve got them, you’ll use them for years.
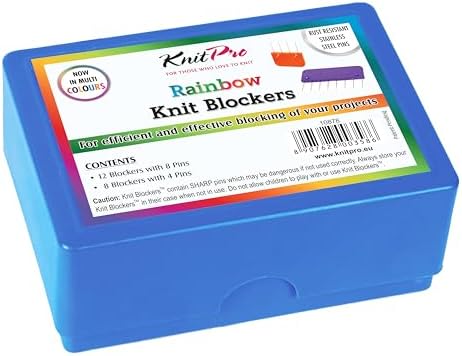
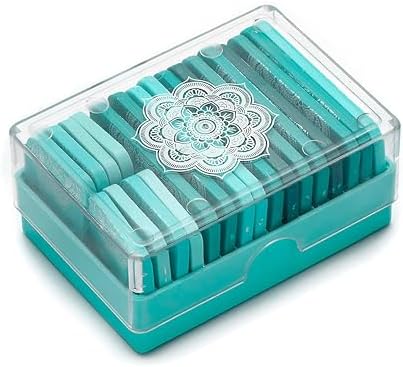
Firstly, blocking mats. These are typically made from durable foam and provide a flat, cushioned surface for laying out your knitted pieces and pinning them precisely. I recommend getting the interlocking ones because you can customise the configuration for different project sizes. Whether you’re blocking a tiny baby bootie or an enormous blanket, you’re sorted.

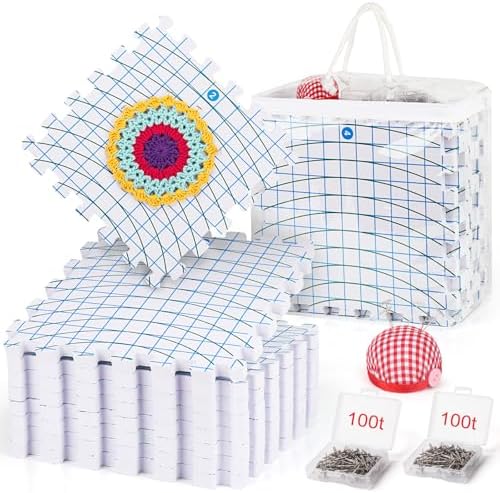
Next, you’ll need T-pins or blocking combs. These are vital for securing your knitted pieces in place during blocking. Their unique shape provides much better support and stability than standard sewing pins, allowing for really precise adjustments. I always opt for stainless steel T-pins because they resist rust and maintain their strength over time. When you’re using them, space them evenly throughout the fabric to maintain uniformity in your blocked piece.
A steamer is an excellent addition to your blocking toolkit. A handheld steamer is brilliant for delicate yarns because it provides a gentle touch without the risk of scorching. When you’re using a steamer, always keep it at a safe distance from the fabric to prevent any damage. You can also use a traditional iron’s steam function, but don’t press down on the fabric, just gently hover above it. Again, be especially careful with synthetic fibres.
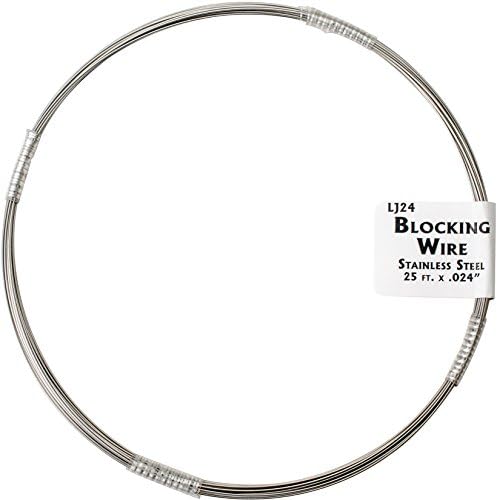
Blocking wires are another tool I’ve come to love. They help you achieve perfectly straight edges, especially on shawls and blankets. Thread them through the edge stitches and you can stretch everything evenly without a million pins.
I have added a selection of tools that I recommend, these products do have affliate links which provides a small income (and does not cost you anything extra)
Step-by-Step Guide to Blocking Your Knits
Let me walk you through both methods so you can choose what works best for your project.
Wet Blocking
Fill a bowl with lukewarm water and add a gentle wool wash or dedicated blocking solution. Submerge your knitted piece and let it soak for about 15-20 minutes. This gentle soaking helps the fibres relax, which means you can shape the piece more effectively.
After soaking, here’s the crucial bit, do not wring or twist the fabric. I repeat, do NOT wring it! Instead, lift it from the water and gently press out the excess moisture whilst keeping its shape intact. My technique? I lay the fabric on a large bath towel, then roll the towel up like a Swiss roll with the fabric as the filling. Then I stand on the towel, using my body weight to squeeze out the excess water. Just take your socks off first, or like me, you’ll end up with soggy socks. Trust me on this one!
Lay the knitted item flat on your blocking mat, shaping it to your desired dimensions. Use your blocking pins to secure the piece in position if necessary, making sure edges and stitches are even. Now comes the hardest part, patience. Allow the project to dry completely, which could take anywhere from a few hours to overnight, depending on how chunky your yarn is and your environmental conditions. Heated airers are brilliant for speeding this up. Just avoid leaving your pieces in direct sun to dry, you risk fading, and nobody wants that.


Steam Blocking
For this method, you’ll need a handheld steamer, steam iron or steam generator. Start by laying your knit project flat on the blocking mat and pinning it into shape according to your pattern measurements.
Here’s the important bit, avoid direct contact with the iron to prevent burning or crushing the fibres. Instead, hold the iron a few inches above the fabric and gently steam the item, targeting the areas that need reshaping. Be careful not to saturate the fabric, the goal is to relax the stitches, not drown them!
Allow the knitted item to cool in its new shape, and make sure it dries completely before removing any pins. I usually give it at least an hour, sometimes longer if it’s a particularly thick piece.
With practice, you’ll develop real confidence in your blocking skills, and your finished pieces will look absolutely stunning.

- No Ironing Board Required – Steam freshens clothes that are hard to clean while they’re hanging up and can eliminate wri…
- Kills up to 99.9 percent of Bacteria in 60 Seconds* – Keep your clothes clean and kill bacteria. *tested on 2 types of b…
- 20 Gram Steam Output – A 20g steam output gives you plenty of steam power to eliminate creases and leave clothes feeling…

- Stainless steel steam panel, distributes heat evenly for smooth results.
- Foldable & lightweight design, compact handle for easy storage and travel.
- 1470W power with 18g/min steam rate, fast, effective crease removal.
Troubleshooting Common Blocking Issues
Right, let’s talk about when things don’t go quite to plan. We’ve all been there, so don’t panic!
One common issue is uneven shaping, which usually comes from variations in stitch tension or improper pinning. To fix this, make sure your project is spread evenly on your blocking surface. This is where blocking wires really come into their own, they help you anchor the edges and maintain consistent tension throughout the piece.
Shrinking or growing is another concern, particularly with natural fibres. Different yarns react uniquely to moisture and heat, which can lead to unexpected size changes. My advice? Always block a swatch first before tackling your entire project. If shrinkage does occur, you can try soaking the piece again and gently stretching it back to your desired dimensions. It might help, but going forward with that yarn, you’ll know to be more cautious about your blocking method.
The beauty of blocking is that once you understand it, you can confidently finish any project knowing it’ll look its absolute best. Your creations will achieve the shape you envisioned and maintain their aesthetic value, which honestly makes all the effort worthwhile. There’s nothing quite like the satisfaction of a beautifully blocked piece!